
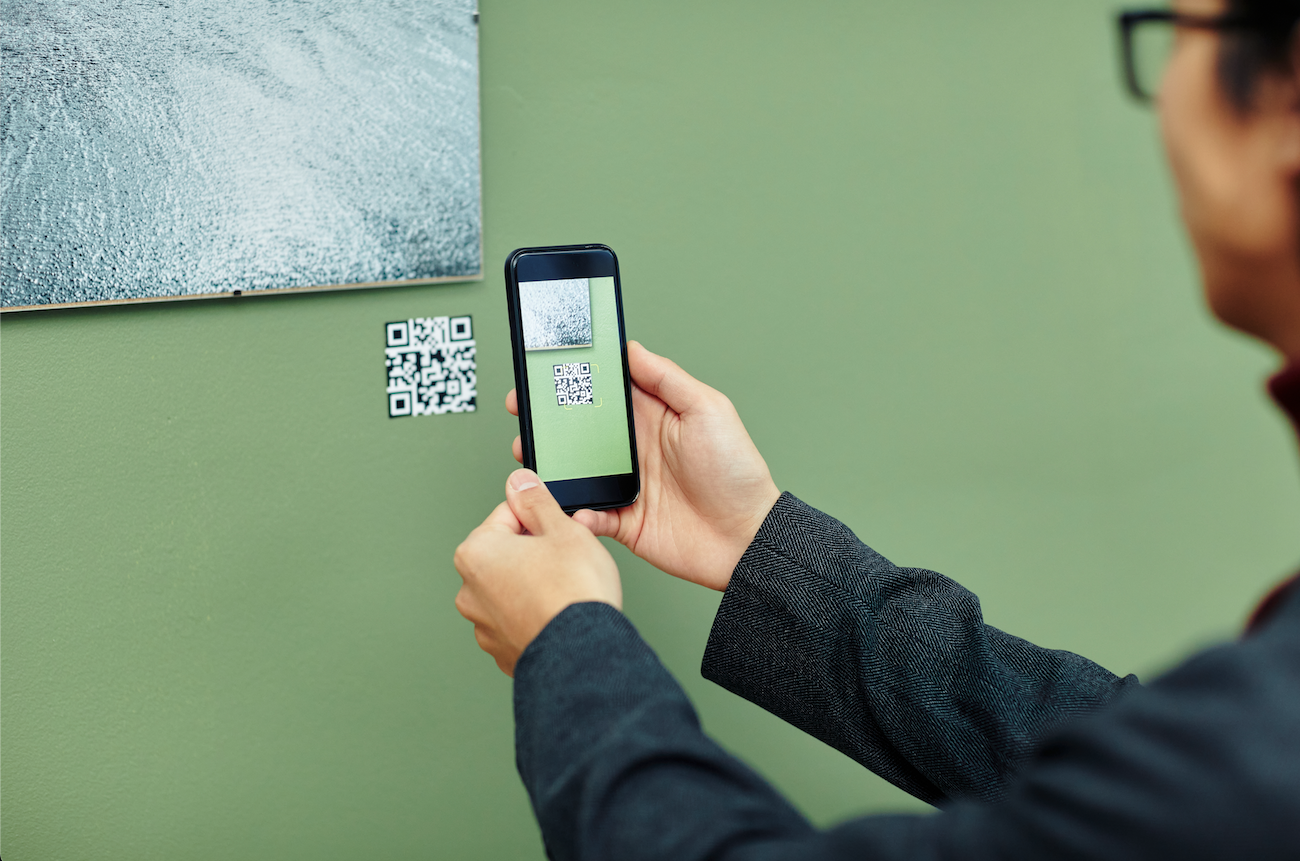
A museum patron scanning an artwork's QR Code with a cell phone. Image courtesy of Shutterstock.
We all have a ton to do. Finding ways to streamline our workflow and create efficiencies in our projects is key to our success and sanity as collections professionals. One way museums save time is through the use of QR Codes to help quickly and easily navigate databases and access collections data. While CatalogIt offers countless ways to create efficiency utilizing QR Codes, there are two options that I use most often: public access and location management.
Generating QR Codes is simple in CatalogIt. Users can create QR Codes for either the HUB (for public access) or for internal use by your account’s authorized users. QR Codes can be generated for Entries, Folders, and every Profile. Simply click on the Actions Menu and select “QR Code” at the bottom of the menu.
Public Access
The ability to share collections is a key aspect of any good Collections Management Software. Generating QR Codes and providing that Code to visitors, your community, docents, or researchers allows you to easily share your collections publicly.
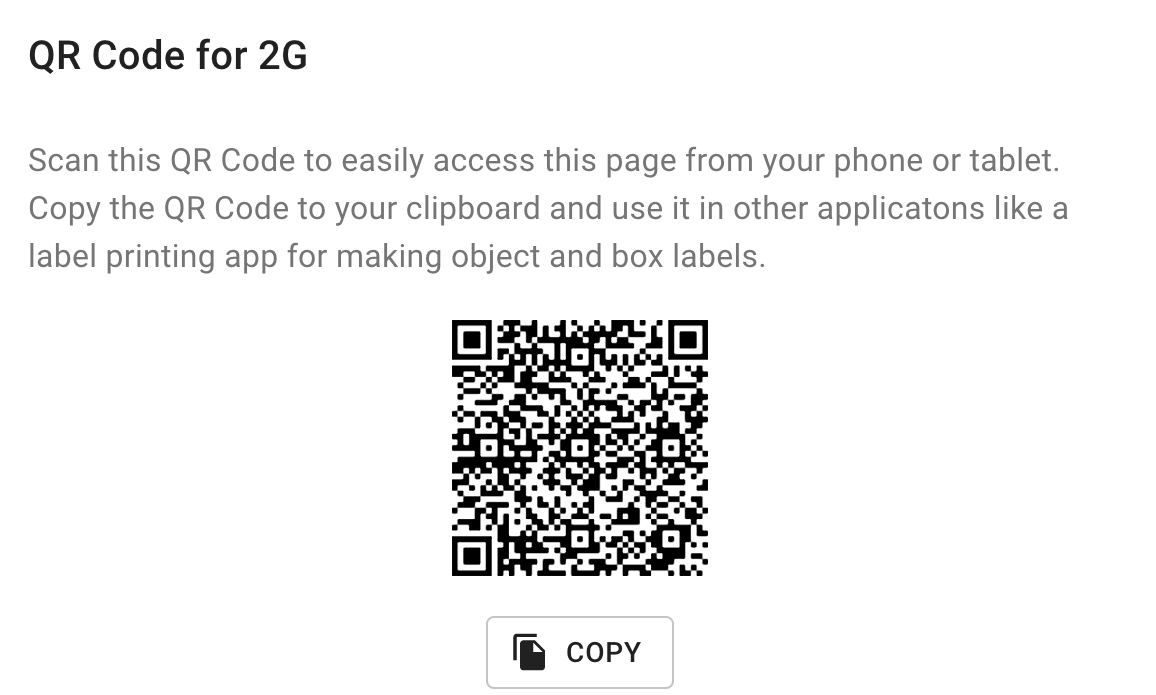
Below is an example of what the menu looks like when generating a QR Code at the Folder level for my Folder named “Photographs”:
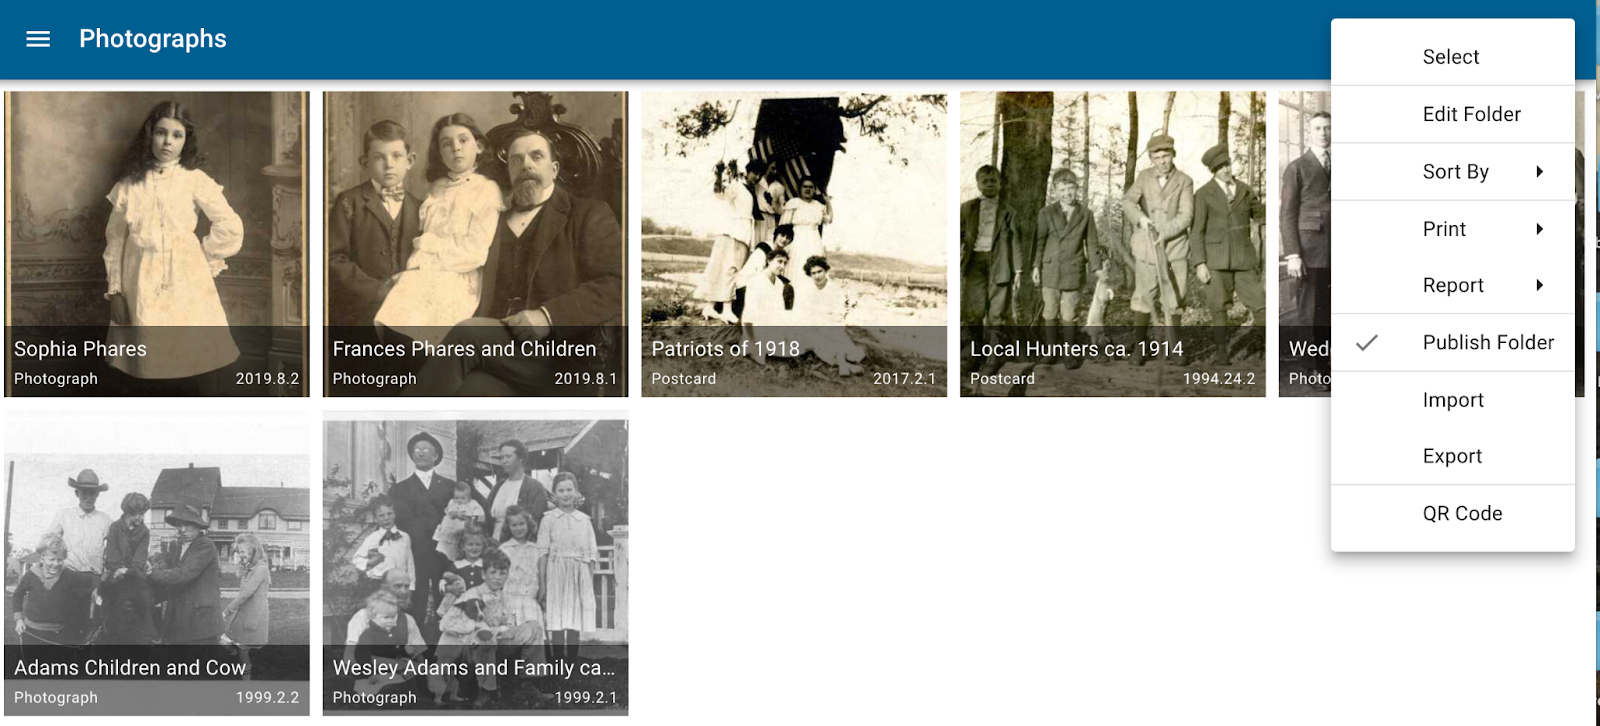
After selecting “QR Code” you can choose the public HUB Code (if your folder is shared, as this one is) and/or the internal Code for the app:
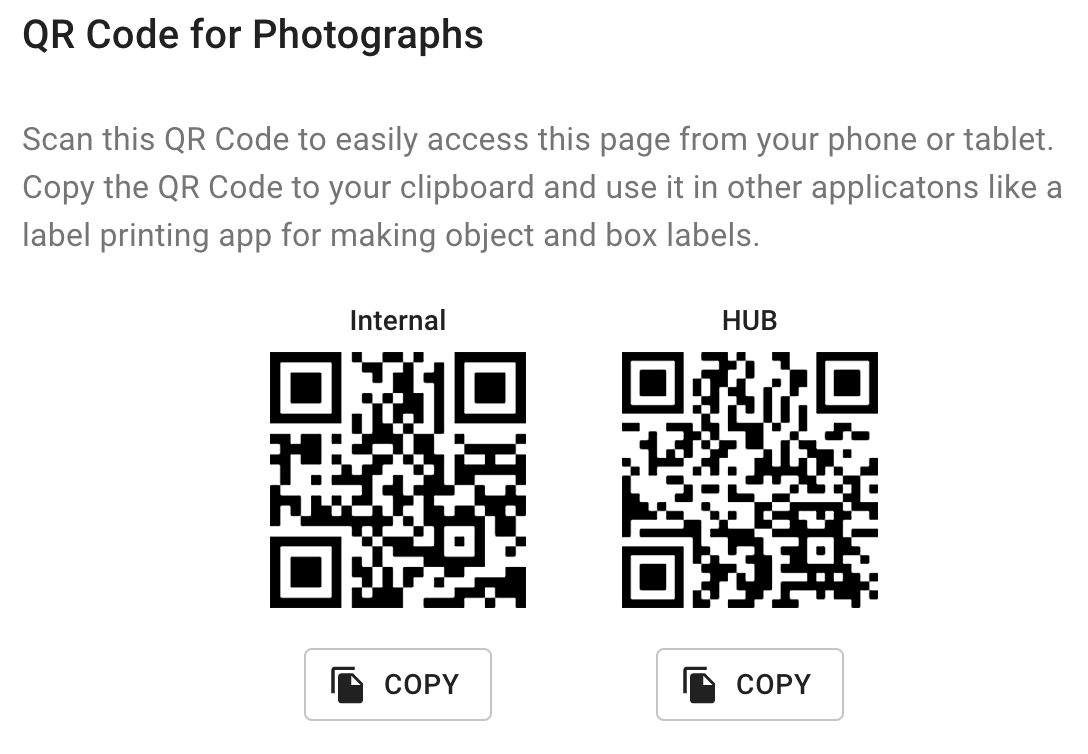
Simply click the “Copy” button to copy the QR Code to your clipboard and then paste it into any document you are using.
By copying the QR Code for the HUB, you can easily share that Folder of Entries with researchers, students, and the general public on brochures, gallery hand-outs, via email, on wall labels, or any other way you would like to share the code. The code can be easily scanned using any smartphone and will direct the user to the HUB page for that particular Folder to allow for easy and quick access to as much (or as little) information you would like to make public.
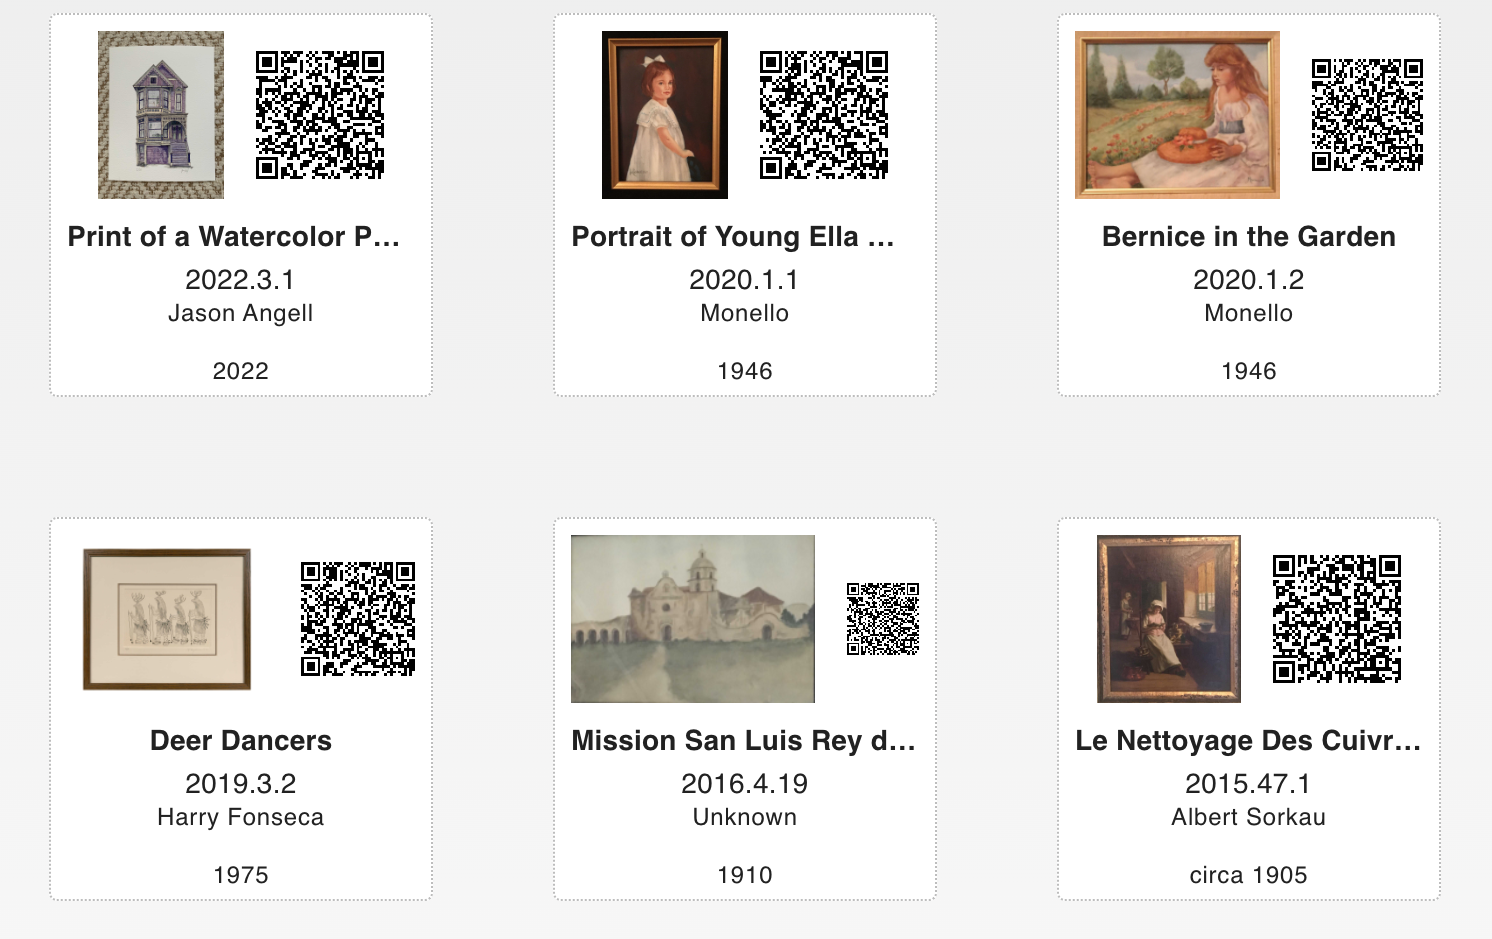
Using the same procedures, you also can create a QR Code for a single Entry. Additionally, the “Print Labels” feature in CatalogIt is a simple way to print a list of Entries with their associated QR Codes to share with the public so they can access additional information about objects on display or research lists. CatalogIt is pre-configured with several common Avery label templates but you can easily create your own if you’re using a different label.
Locations
Tracking and managing locations is one of the most crucial aspects of a collections professional’s responsibilities. Creating location lists for inventories, and box or shelf lists for items in a single location, is simple.
Each Location Profile has its own unique QR Code. These Codes are, of course, internal- they’d only be accessible to your authorized users. Select “QR Code” from the Actions Menu from the location profile you are using and copy the unique code:
Attach this code to the associated box, shelf, or cabinet. By scanning the QR Code with a smartphone or tablet, your authorized users can view that location profile and easily see all the items in that location.
Use the CatalogIt “Print Labels” feature or printed reports and attach tags to objects or lists to the outside of each cabinet, box, or shelf. By including the QR Code to the outside of each item or location, you are minimizing the risks associated with excessive handling when later trying to locate a specific item. Scan the QR Code to get all the associated information related to that location or object. Edit that information quickly and efficiently on your tablet, laptop, or phone while you are in storage - ensuring all of your information is up-to-date and correct.
Labels
No matter what you use QR Codes for, you can easily generate reports, lists, and labels which include either the Internal QR Code or HUB QR Code. Using the built in “Print Pages” report, select all the data you would like to include on your report along with the associated QR Code, and simply print your QR Code label.
For simple tabular lists, choose “Print Table.” You are able to select either or both QR Codes for this list. Simply print this list or download it directly to Excel or as a CSV file so you can manipulate it as you wish.
You can also simply print your data and QR Code using the “Print Label” function built into CatalogIt. Choose from several common commercial label formats for the one that fits your project best and select the data you need for your project. You can also input custom dimensions for other label formats you may need. This works well for crate labels, shipping, inventory projects, and more. To create more custom Avery labels, watch this video for a step by step guide on how to print Avery labels from your CatalogIt data.
There are endless uses for QR Codes, and museums and galleries are integrating them into their organizations more and more. Thinking about a project that could benefit from QR Codes? Contact us at support@catalogit.app if we can be of any help! Have you found a great use for QR Codes? Tell us about it!